First Time at a Gun Range in McKinney: What to Bring, Wear, and Expect
For a first visit to an indoor gun range in McKinney, plan to spend $50 to $120 per person, including lane fee, ammunition, target, and rental firearm. Bring a valid government-issued photo ID, your own firearm if you have one (in a case, unloaded), eye and ear protection (the range provides if you do not), closed-toe shoes, and a button-up or crew-neck shirt that does not expose your chest area. Skip flip-flops, V-neck shirts, low-cut tops, and shorts that ride up. First-time check-in takes about 15 minutes and includes a safety briefing. Plan 60 to 90 minutes on the lane. Most McKinney indoor ranges welcome complete beginners and provide a range safety officer who can answer questions.
Before you leave the house: what to bring
A short list keeps the first visit simple. Most McKinney indoor ranges will provide anything you forget for a rental fee, so do not worry about a missing item. The list below is the ideal kit.
Required:
- Government-issued photo ID. Driver's license, passport, or state-issued ID. Required for any firearm rental and often required for entry, even if you bring your own gun.
- Your firearm, if you own one. Carried in a case, unloaded, with the action open or slide locked back. Do not handle the firearm in the parking lot or lobby.
- Ammunition for your firearm, if you brought one. Standard factory ammunition in the caliber your gun shoots. Most ranges sell ammo if you forget or need more. Bring 50 to 200 rounds for a typical session.
Strongly recommended:
- Eye protection. Wraparound safety glasses or shooting-specific glasses. Most ranges provide loaners, but personal protection fits better and is more comfortable.
- Ear protection. Either disposable foam plugs (cheap, basic) or electronic earmuffs (allow conversation while blocking gunshot noise). Ranges rent or sell both.
- Cleaning rag or paper towels. Indoor ranges leave hands with lead residue and powder. A towel for wiping helps before driving home.
Useful but optional:
- Range bag. A small bag to organize your firearm, ammo, mags, hearing protection, and any supplies. Not required, but keeps everything together.
- Extra magazines (if you have them). Reduces reload time and makes practice flow better.
- Notepad or training journal. Some shooters track shot count and what they worked on. Useful for skill progression over time.
- Cash for tips or unexpected purchases. Some range cafes are cash-only.
What not to bring:
- Open beverages on the lane (most ranges allow beverages in the lobby only)
- Backpacks or oversized bags (some ranges have lockers; others restrict bag size)
- Children under the range's minimum age (most McKinney ranges allow ages 8+ with parent supervision; verify before bringing kids)
- Any firearm you are not familiar with handling safely
What to wear (and what not to)
Wardrobe matters more than first-timers expect. The wrong shirt or shoes can ruin a session.
The reason: Indoor ranges have hot brass flying. A casing from a 9mm pistol ejects to the right and can land down a shirt collar, in a sandal, or on bare skin. Brass starts at around 300°F as it leaves the gun. A piece of hot brass on bare chest skin causes a real burn that often results in the shooter flinching, dropping the firearm, or panicking. The clothing choices below prevent this.
Wear:
- Closed-toe shoes. Sneakers, hiking shoes, work boots. Anything that fully covers the top of your foot.
- Crew-neck or button-up shirt. A higher neckline keeps brass out of your shirt.
- Long pants or jeans. Protects against any brass that ricochets off the lane partition.
- A hat with a brim. A bill cap or a bucket hat works. Helps deflect brass from your face and provides shadow against overhead lighting.
- Tucked-in shirt for women in particular. Brass that gets into a bra is a real concern; a high-neck shirt tucked into pants eliminates the risk.
Avoid:
- V-neck shirts and low-cut tops. Open invitations for hot brass.
- Tank tops. Bare shoulders and chest area exposure.
- Flip-flops, sandals, open-toe shoes. Hot brass on bare foot skin is a real burn.
- Shorts that ride up when seated. Same brass concern on thigh skin.
- Loose hoods or scarves. Can interfere with shooting stance and eye protection.
- Synthetic athletic fabrics on bare midriff. Brass can melt fabric and stick to skin.
For the safety-conscious:
Many regular shooters wear a shooting-specific shirt with a brass deflector built into the neck. Not necessary for a first visit, but useful for serious practice.
What it actually costs in McKinney
Pricing varies by range, but McKinney indoor ranges generally fall in similar ranges for 2026.
Lane fee (1 hour, 1 lane): $20 to $35 per shooter
Lane fee (1 hour, 2 shooters sharing): $30 to $50 total
Firearm rental: $15 to $30 per gun for the session
Ammunition (range purchase):
- 9mm: $25 to $40 per box of 50
- .22LR: $10 to $20 per box of 50
- .45 ACP: $35 to $50 per box of 50
- .223/5.56: $35 to $55 per box of 20
Eye protection rental: $2 to $5 (free at some ranges)
Ear protection (foam plugs): $2 to $5; electronic muffs rental: $10 to $15
Target: $1 to $5 per paper target
Typical first-visit cost breakdown:
- Lane (1 hour): $25
- Rental pistol (9mm): $20
- Ammo (50 rounds 9mm): $30
- Target: $2
- Eye and ear protection: $5
- Total per person: $82
For two friends sharing a lane (one rental gun, common ammo): $130 to $160 total.
For three friends with two rentals: $180 to $220 total.
Cost-saving tips:
- Visit on weekdays before 5 PM (many ranges have lower lane rates)
- Buy ammo in bulk (250-round boxes) if you plan to shoot regularly
- Bring your own eye and ear protection after the first visit
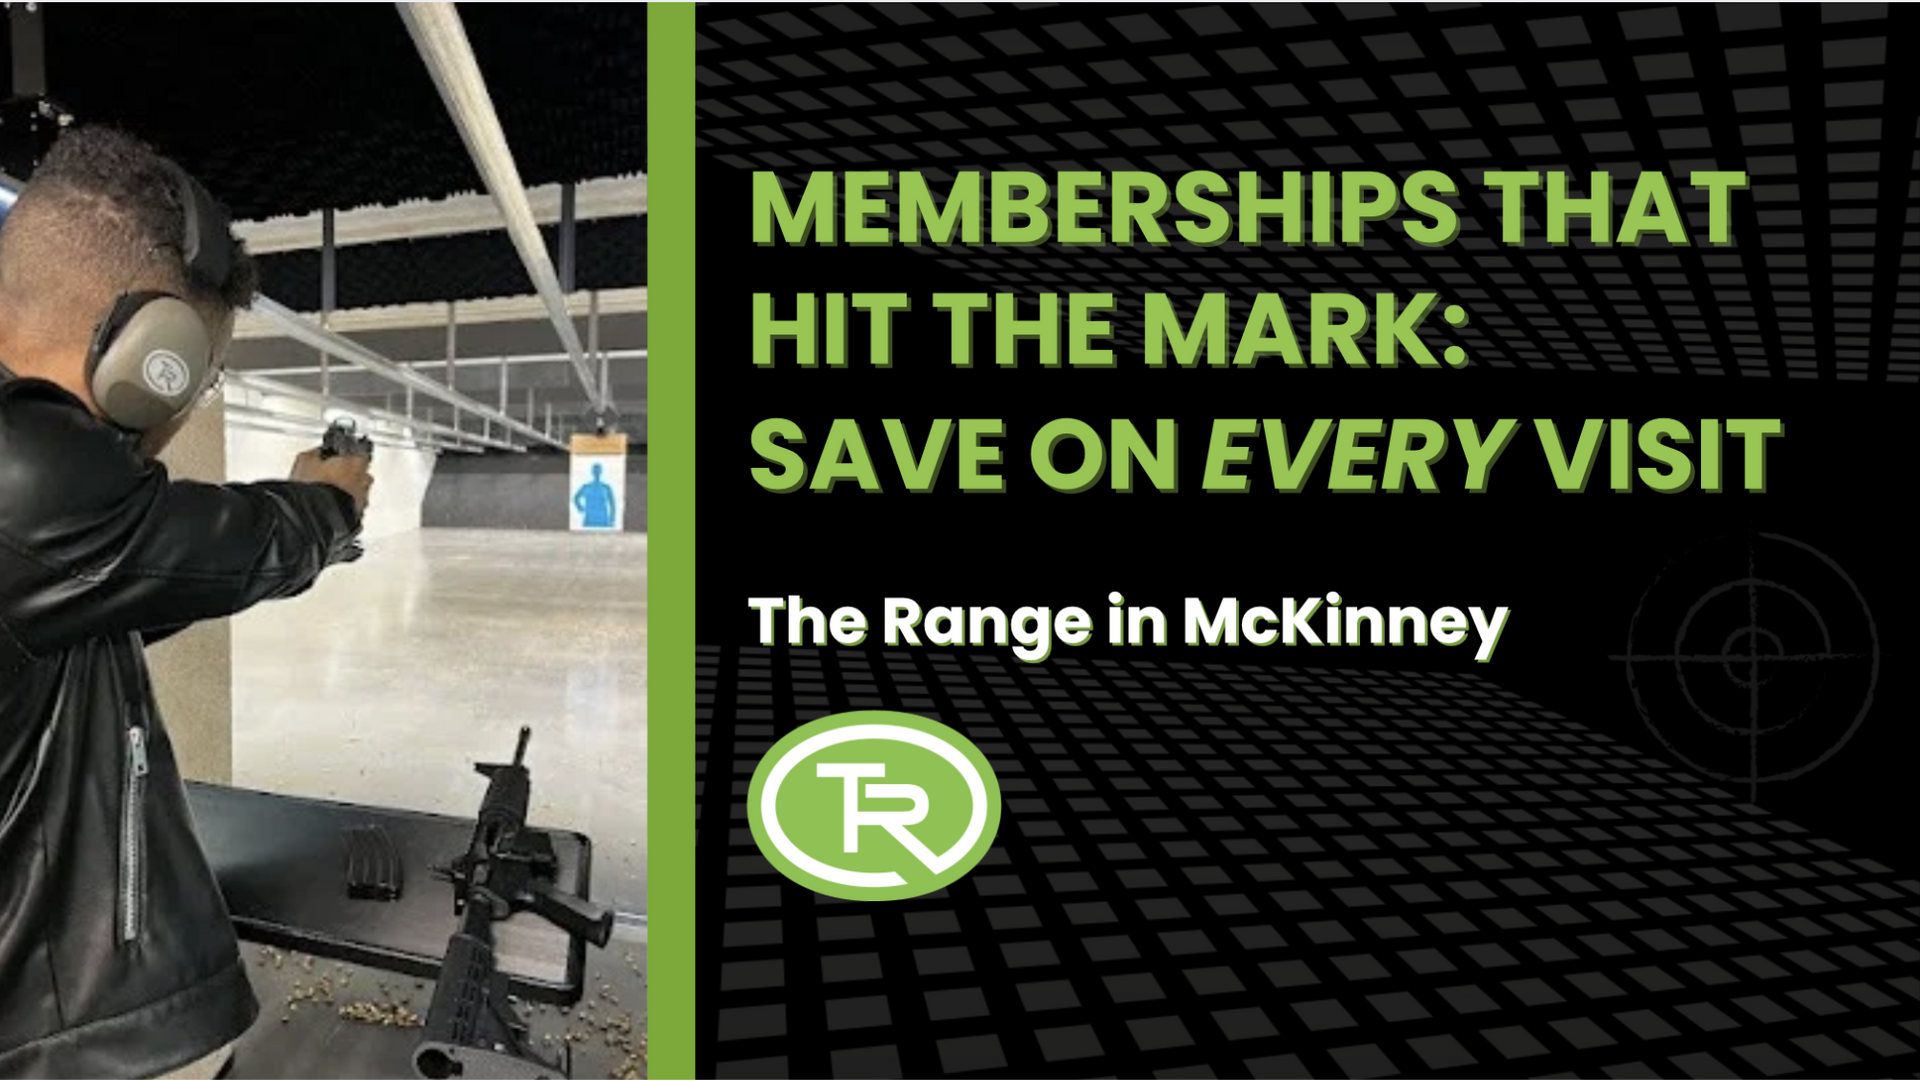
- Membership packages reduce per-visit cost for regulars
Special promotions to watch for:
Some McKinney ranges offer Ladies Day promotions (half-off lane fees and free rentals on specific days) and beginner package deals (lane plus rental plus ammo plus target bundled). Worth asking about at check-in.
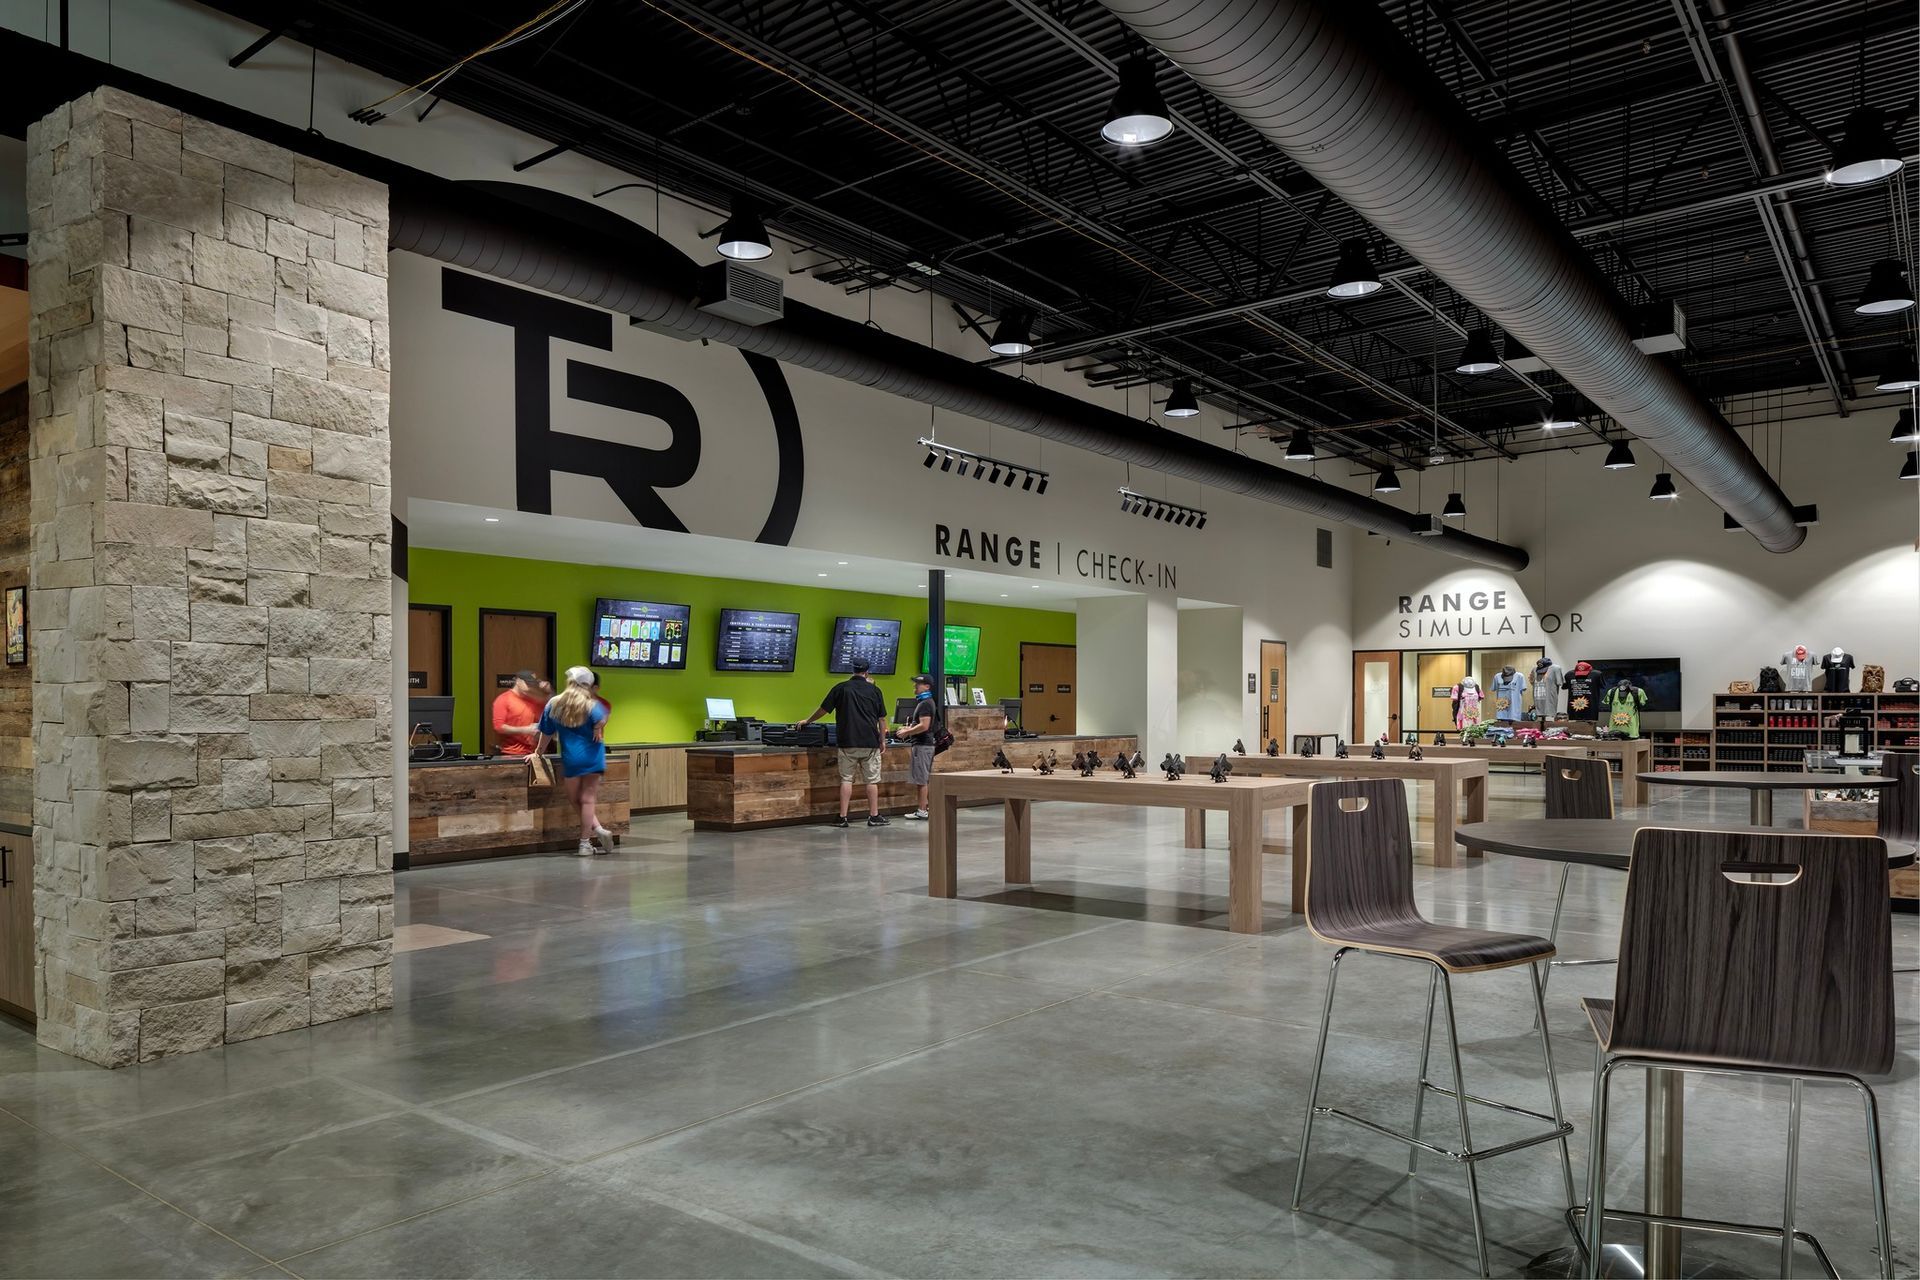
The check-in process step by step
First-time check-in takes about 15 minutes. Knowing the steps reduces stress.
Step 1: Park and bring your case to the front door.
If you have a firearm in a case, carry it muzzle-down. Do not open the case in the parking lot. Most ranges have a sign about firearms remaining cased until inside.
Step 2: Enter the lobby and approach the counter.
The front-desk staff will greet you. Tell them this is your first visit. They will guide you through the rest.
Step 3: ID check and paperwork.
Provide your ID. You will sign a waiver covering range rules, liability, and acknowledgment that you understand basic firearm safety. Read it. Ask if anything is unclear.
Step 4: Renting a firearm (if applicable).
If you do not own a firearm or want to try something different, the rental counter has a selection. Common rental options include:
- 9mm pistols (Glock 19, Sig P320, Smith and Wesson M&P)
- .22LR pistols (Ruger Mark IV, Smith and Wesson 22 Compact)
- .380 ACP pistols (Glock 42, Smith and Wesson Shield)
- Larger handguns (.45 ACP, .357 magnum revolver)
- Long guns (AR-15 rifles, shotguns) at some ranges
For a first visit, start with a .22LR or 9mm pistol. They have low recoil, modest noise, and an accessible cost per round.
Step 5: Selecting ammunition.
The clerk will help match your rental or your firearm to the correct ammunition. Range rules typically prohibit certain bullet types (steel-core, armor-piercing) on indoor lanes.
Step 6: Target selection.
Standard paper targets (B-27 silhouette, 3x5 sight-in target, bullseye) cost $1 to $5 each. Reactive targets (steel poppers) are sometimes available on outdoor lanes only.
Step 7: Eye and ear protection.
If you did not bring your own, get rentals at the counter. Try on the earmuffs to ensure they cover your ears fully.
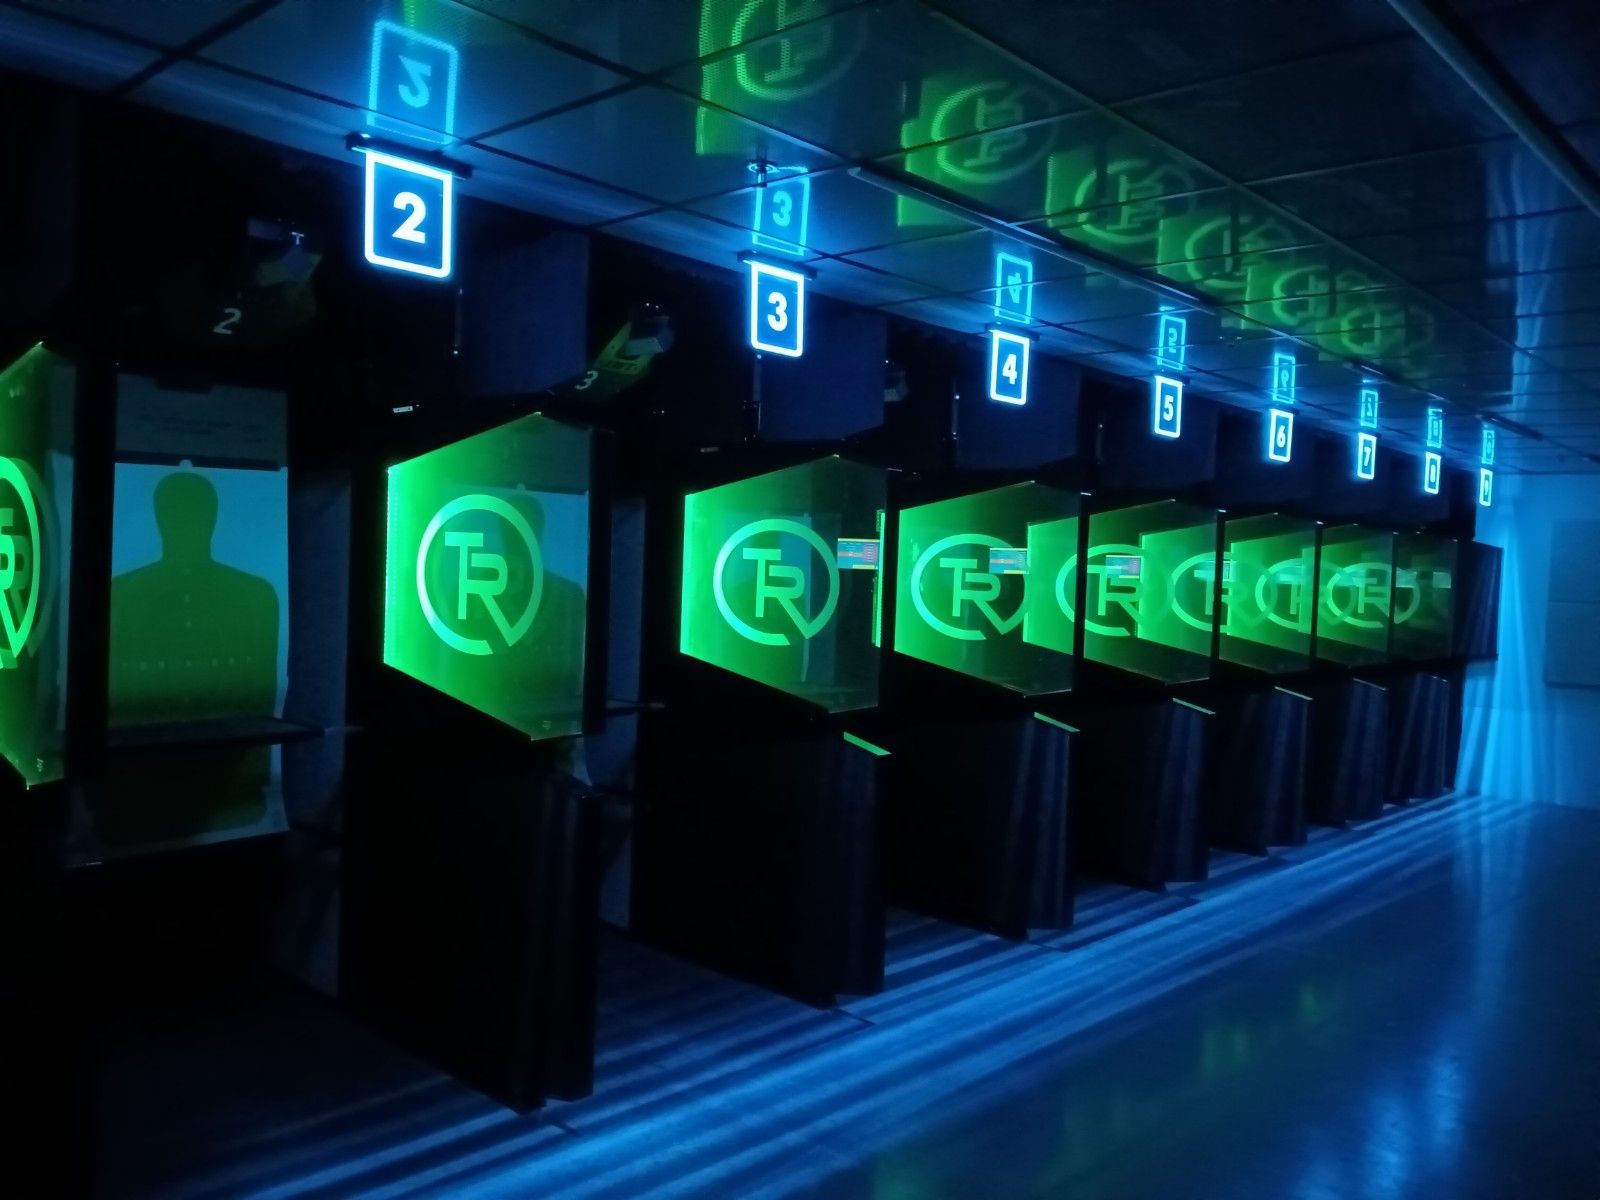
Step 8: Get your lane assignment.
The clerk will give you a lane number. Lanes are numbered along the range wall. Take note before walking in.
The safety briefing: what they will cover
Many McKinney ranges include a brief safety walkthrough for first-time visitors, either by the range officer (RSO) at the counter or via a short video.
The briefing typically covers:
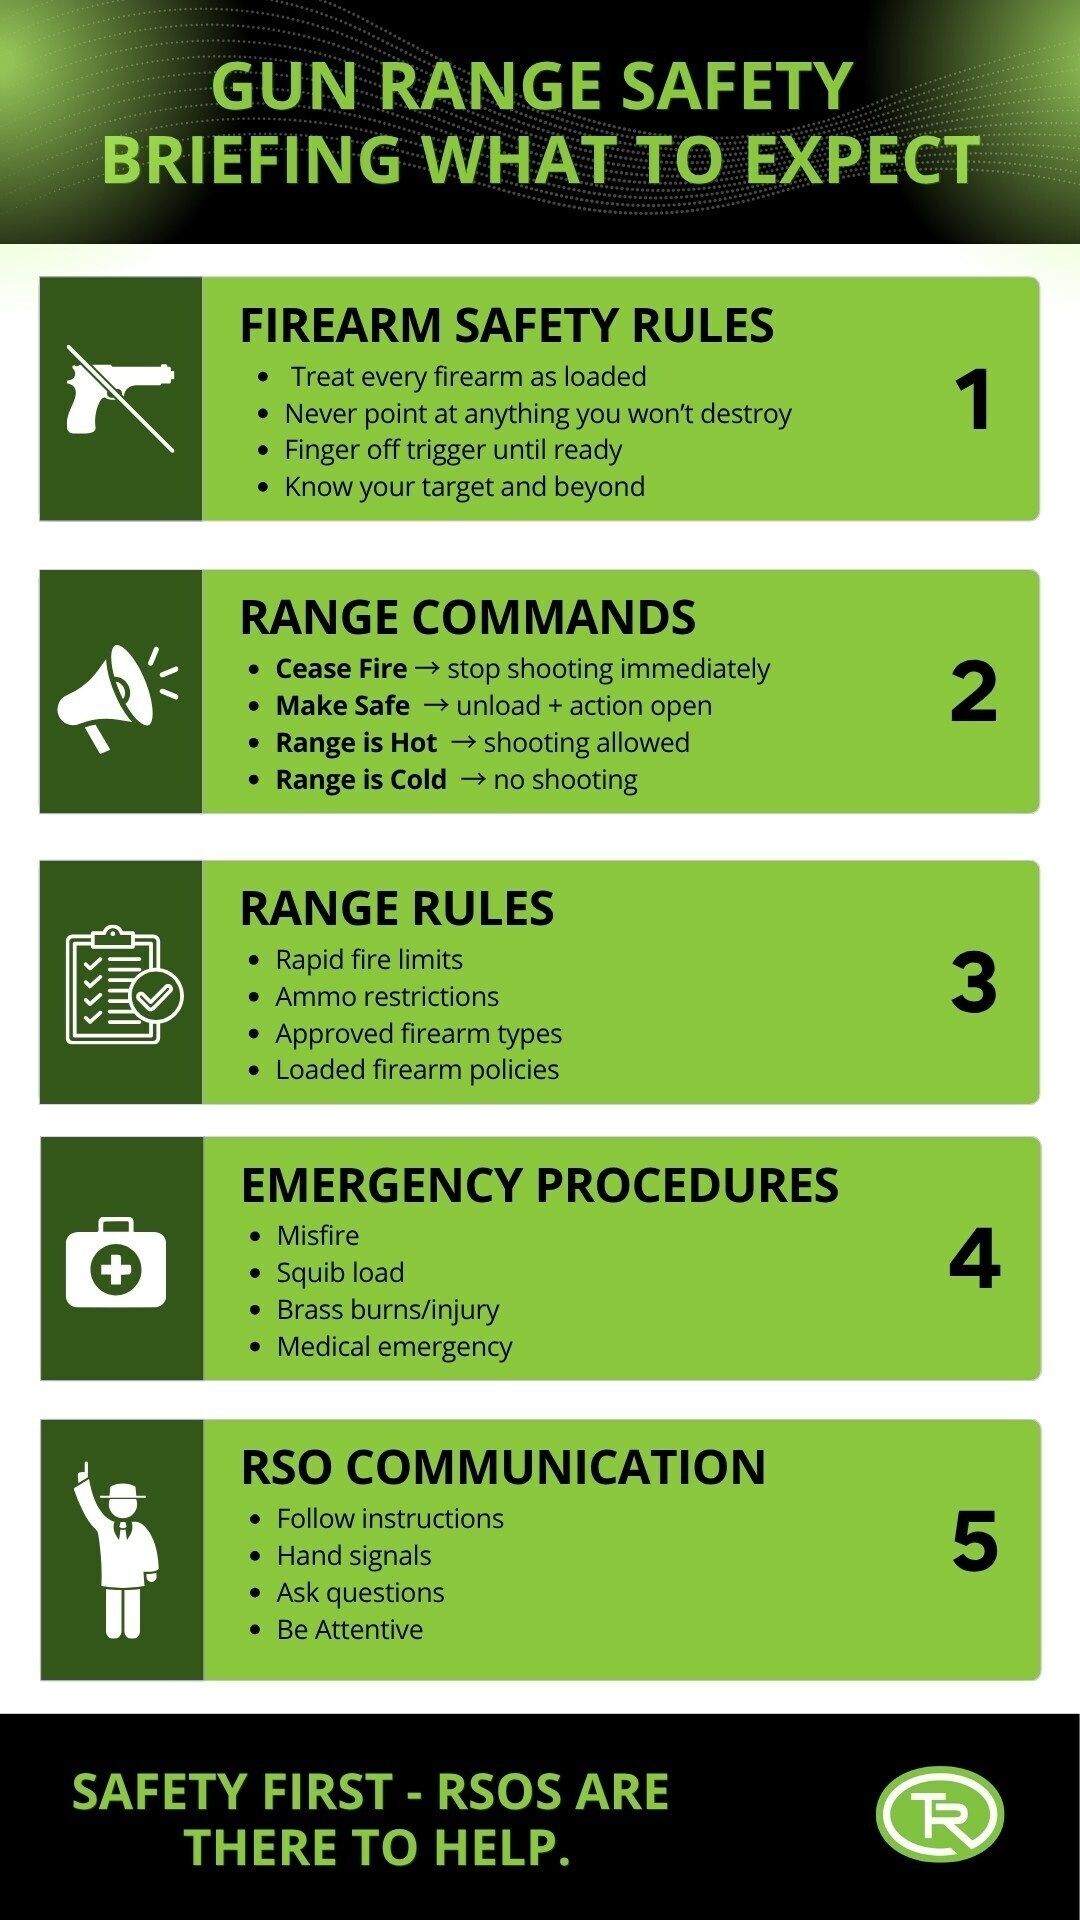
1. The four rules of firearm safety: Treat every firearm as loaded. Never point at anything you are not willing to destroy. Keep your finger off the trigger until ready to fire. Be sure of your target and what is beyond it.
2. Range commands. Common commands the RSO uses:
- "Cease fire" (stop shooting immediately, finger off the trigger, firearm pointed downrange)
- "Make safe" (unload, magazine out, action open)
- "Range is hot" (cleared to shoot)
- "Range is cold" (firearms down, no shooting)
3. Specific range rules. Each range has unique policies:
- Maximum rounds per minute (some ranges restrict rapid fire)
- Permitted firearm types (some ranges restrict full-auto, steel-core ammo, etc.)
- Bringing your own ammunition (some ranges only allow ammo bought on-site)
- Loaded firearms outside the lane (typically only permitted in the lane or cased)
4. What to do if something goes wrong. Procedures for:
- Misfire (firearm did not fire on trigger pull)
- Squib load (round did not fully exit the barrel)
- Personal injury or burn from brass
- General medical emergency on the range
5. How to communicate with the RSO. Hand signals if hearing protection prevents conversation.
If you do not understand anything in the briefing, ask. RSOs are there to help and will walk you through specific steps if needed.
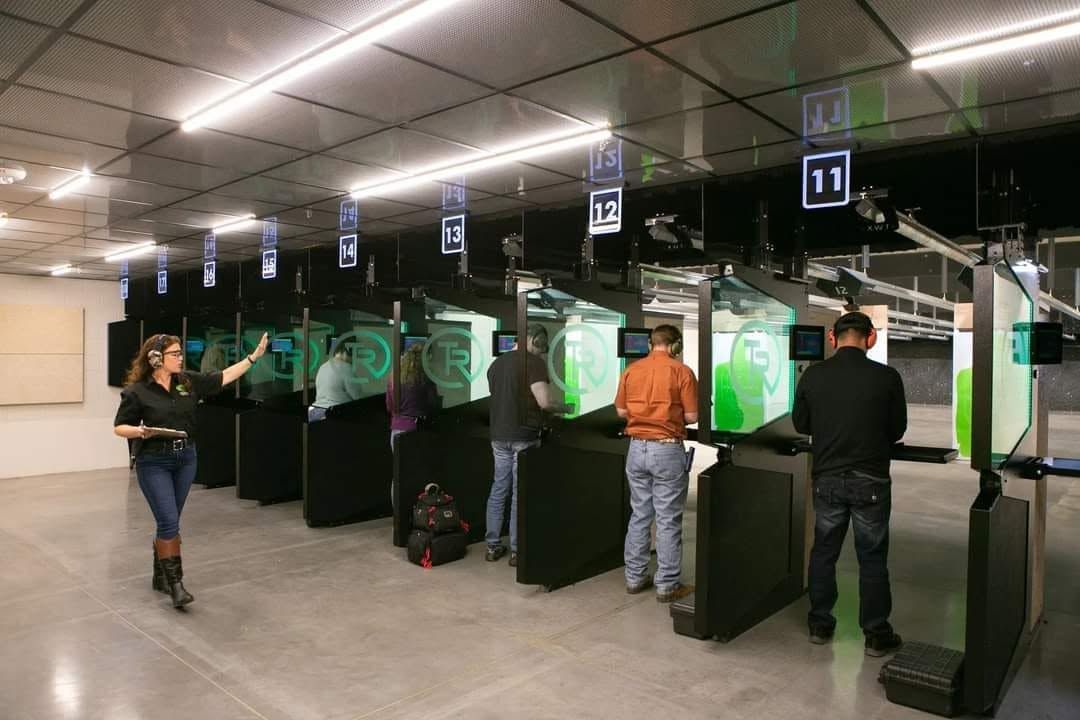
Your first 10 minutes on the lane
Walking into the lane area can feel intimidating. Here is what to expect.
The lane itself: A bay with partitions on each side, a shooting bench at the front, and a target hanger at the back. The target hanger is on a track that moves the target downrange (electric switch at the lane).
Lighting: Bright overhead lighting. Some ranges have adjustable lane lighting.
Ventilation: Strong overhead ventilation pulls air downrange. You may feel a breeze. This is intentional and removes lead and smoke from the breathing area.
Sound level: Even with hearing protection, gunshots are loud. Electronic earmuffs reduce the noise but allow you to hear range commands and conversation.
First lane setup:
- Set your range bag or case on the bench.
- Put on eye and ear protection (eye on first, then ear).
- Open your case and remove the firearm carefully, keeping the muzzle pointed downrange.
- Place your ammunition on the bench, magazines empty.
- Hang your target. Most lanes have a clamp system. Slide your paper target into the clamp at the top.
- Use the lane control to move the target to your desired distance (3 to 7 yards is appropriate for a first visit; 25 yards is a long shot for beginners).
- Take a breath. Take stock of what is on the bench. You are ready.
How to load, aim, and fire (a calm walkthrough)
This is the moment most first-timers feel nervous. Slow down. Each step matters.
Loading the magazine:
- Press the cartridge nose into the magazine, then push down and back to seat each round.
- Most magazines hold 7 to 17 rounds. Load 5 to 7 for the first magazine.
- Set the loaded magazine aside on the bench.
Loading the firearm:
- With the muzzle pointed downrange, insert the loaded magazine into the firearm. Push firmly until it clicks into place.
- Rack the slide (pull the slide all the way back and release). This chambers the first round.
- The firearm is now loaded and ready. Keep your finger off the trigger.
Stance:
- Stand facing the target with feet shoulder-width apart.
- Lean slightly forward, knees softly bent.
- Hold the firearm with two hands. Dominant hand wraps around the grip; support hand wraps around the dominant hand fingers.
- Both arms extended toward the target, slightly bent at the elbows (not locked).
- Bring the firearm up to eye level.
Sight alignment:
- Look through the rear sight at the front sight post.
- Center the front sight in the rear sight notch.
- Place the top of the front sight where you want the bullet to land on the target.
The trigger pull:
- With the firearm aligned on the target, place the pad of your index finger on the trigger.
- Apply slow, steady pressure straight back. Do not jerk.
- The firearm fires. Hold the trigger back briefly.
- Reset the trigger (let it forward until you feel a click), keeping it pressed slightly forward.
- Ready for the next shot.
After firing:
The slide cycles automatically (for semi-automatic pistols). A spent casing ejects. The next round chambers automatically.
For revolvers:
The cylinder rotates with each trigger pull on a double-action revolver. Single-action revolvers require manual cocking of the hammer.
When the magazine is empty:
The slide locks back (on most modern pistols). Press the magazine release, drop the empty magazine, insert a fresh one, and press the slide release to chamber a round.
Common feelings for first-timers:
- Recoil less than expected on a 9mm (most first-timers say "that was easier than I thought")
- Noise is more impactful than expected (even with protection, you feel the report)
- Flinch reflex after first shot (totally normal; works itself out within 20 rounds)
- Shaking hands (adrenaline; settles within 5 minutes)
Take your time. There is no rush. The lane is yours for the booked time.
What range officers do and when to ask for help
Range Safety Officers (RSOs) walk the lanes to ensure safety. They are also your resource for questions.
RSO duties:
- Enforce safety rules
- Help with malfunctions
- Assist new shooters with technique
- Coordinate cease-fire and lane changes
When to ask the RSO for help:
- Your firearm jammed, and you do not know what to do
- You are unsure if you loaded correctly
- Your stance or grip feels wrong
- You want feedback on accuracy
- Do you have any safety concerns
How to ask:
- Make sure your firearm is safe (unloaded, action open, on the bench, pointing downrange)
- Keep your finger off the trigger
- Get the RSO's attention with a wave or by stepping back from the lane
- Wait for them to come to you rather than walking through other lanes
What RSOs cannot do:
- Make decisions about whether to fire (you must always make your own decision)
- Teach a full course in technique (consider booking a lesson for that)
- Diagnose a complete firearm problem (some require gunsmith work)
- Provide medical advice
If you want serious instruction, most indoor ranges in McKinney offer paid lessons with certified instructors. These typically run $60 to $120 per hour and are worth it for new shooters.
Common first-timer mistakes (and how to avoid them)
Mistake 1: Anticipating recoil.
Pushing the firearm forward in anticipation of the recoil before the shot is fired. This causes shots to go low and in front of the target. Solution: focus on a steady trigger pull and let the recoil surprise you.
Mistake 2: Closing both eyes.
Most shooters benefit from keeping both eyes open and using the dominant eye for sighting. New shooters often instinctively close both eyes at the moment of firing. Solution: blink only after the shot fires.
Mistake 3: Death grip on the firearm.
Too much hand tension causes the trigger finger to also tense up, which jerks the shot. Solution: firm but relaxed grip. The firearm should feel held, not squeezed.
Mistake 4: Looking at the target instead of the front sight.
Beginners want to see where the bullet went. They focus on the target and lose sight of alignment. Solution: front sight is the priority. Target is a blur. Focus on the front sight as you press the trigger.
Mistake 5: Reaching too far over to grab a fallen magazine or shell casing.
Bending over with a firearm in your hand creates a safety concern. Solution: Ensure the firearm is on the bench (unloaded, action open) before bending over. Ask an RSO if anything is awkward.
Mistake 6: Trying too hard, too fast.
Some first-timers fire 100 rounds in 20 minutes. Quality matters more than quantity. Solution: 50 rounds in 60 minutes with focus on each shot is more productive than 200 rounds rushed.
Mistake 7: Not wearing tight enough hearing protection.
Foam plugs not fully inserted, or earmuffs sitting on top of glasses. Solution: roll foam plugs to the smallest diameter before inserting, hold for 30 seconds while they expand. For muffs, position the band fully on the crown of your head.
Mistake 8: Loading too many rounds at once.
Filling a 17-round magazine for the first session creates frustration when you reload. Solution: 5 to 7 rounds per magazine. Reload often. The reload practice is part of the value.
Mistake 9: Refusing help.
Many men, in particular, feel they should figure it out alone. The RSO is paid to help. Solution: ask for one specific thing (grip check, stance adjustment, sight alignment) and learn from it.
Mistake 10: Skipping the range cleanup.
Some new shooters leave brass, target debris, and ammunition boxes on the lane. Solution: spend 2 minutes wiping the bench, picking up casings (or asking how the range wants them handled), and leaving the lane as you found it.
Final Thoughts
If you are planning your first visit to an indoor shooting range, we are here to make the experience comfortable, safe, and beginner-friendly from the moment you walk through the door. At The Range in McKinney, our team helps first-time shooters with everything from firearm rentals and lane setup to safety guidance and basic shooting tips. Whether you come alone, with friends, or as part of a first lesson, we are ready to help you feel confident on the range. Contact us today or stop by to plan your first session.
The Range in McKinney
415 Industrial Blvd., McKinney, TX 75069
Tuesday–Saturday 10 a.m.–7 p.m. | Sunday 12 p.m.–6 p.m. | Closed Mondays